Onigiri -- picnic-perfect food! Sometimes I like to give myself a pat on the back when I come up with something that I think is cool and haven't seen anywhere else. I present to you my very own creation of onigiri, Kawa Onigiri! I don't really know if that makes sense, but it's basically chicken skin onigiri. I made my
Easy Teriyaki Chicken and Mushrooms a couple of weeks ago which calls for boneless and skinless thighs. I deboned and skinned the chicken thighs myself, and I saved both in separate freezer bags for later use (like this recipe!). If you don't have chicken skin, no worries! I've got you covered with my Bacon Onigiri! You are so welcome!
You can use whatever furikake blend you like. I used Shake Wakame which has salmon, wakame, seaweed, and sesame seeds. This is my way of sneaking in some fish into my diet since I don't eat a whole lot of fish. Don't hate.
Kawa Onigiri
For the Kawa
ingredients:
• 4 chicken skin from thighs
• sea salt
• non-stick spray
instructions:
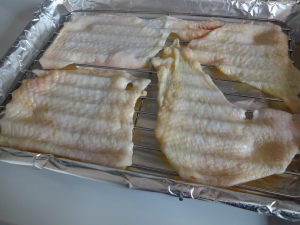
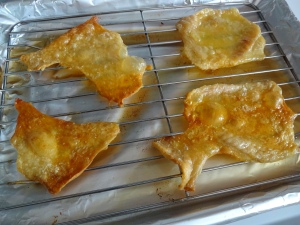
1) Preheat oven to 400° F. Line a sheet pan with foil for easy clean up, then place a wire rack over it. Spray the wire rack with non-stick spray. Lay the chicken skin flat on the rack, pat dry with paper towels, and season with salt. Roast for 20-25 minutes.
2) Let the chicken skin cool on the wire rack and reserve 1 tbsp of the fat drippings for the onigiri.
For the Onigiri
ingredients:
• 1 rice cooker cup sushi rice (1 rice cooker cup = 180 ml)
• 1½ cups water
• 1 tbsp chicken fat drippings
• 1 tbsp furikake
• ½ tsp garlic-pepper seasoning (McCormick Salt Free)
• ½ cup water
• ½ tsp kosher salt
• nori for wrapping/decorating (optional)
• slices of avocado
instructions:
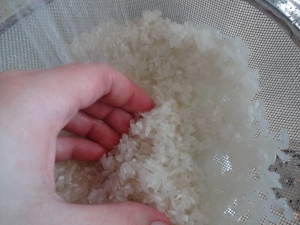
1) Put rice in a fine mesh strainer and rinse under not-too-cold running water. Gently swish the rice around with your hand. Rinse rice until water runs clear, about 2 minutes. Drain rice very well by shaking the strainer.
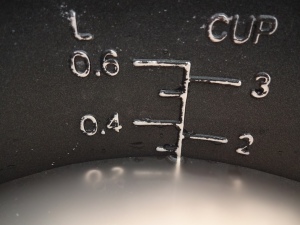
2) Transfer rice to a rice cooker and add 1½ cups water. Turn the setting to "Cook". Once the rice cooker switches to "Warm" setting, set the timer for 15 minutes. Meanwhile, prepare the seasonings.
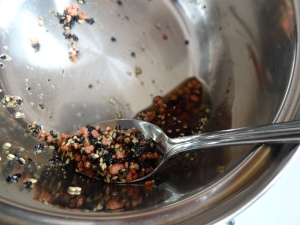
3) In a small saucepan over low heat, add the drippings, furikake, and garlic-pepper. Stir around for 1 minute, then off the heat and set aside.
4) In a bowl, add salt and ½ cup water. Microwave for 20 seconds. Stir the mixture until salt is dissolved; set aside. This is for wetting your hands before shaping the onigiri to prevent rice from sticking to your hands.
5) Chop the chicken skin. When the 15-minute timer is up, turn the rice cooker off. Using a spoon, scoop as much of the seasonings out of the drippings as you can and add it to the rice, leaving the drippings in the pan. Discard drippings.
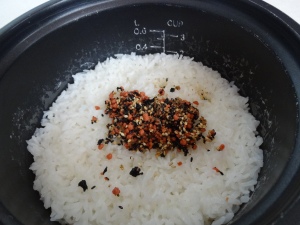
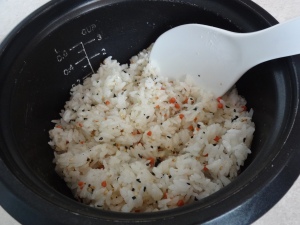
6) Mix the seasonings in with the rice using a rice paddle. Add the chicken skin and fold it into the rice.
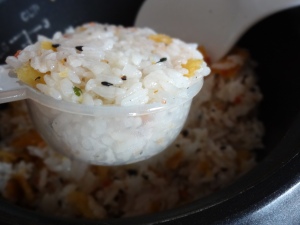
7) Scoop some rice into a ¼ measuring cup, pack it in. Dip your clean hands in the salt-water mixture, turn the measuring cup upside down and catch the rice with one hand. Firmly shape the rice into a ball or any shape you like. Repeat procedure until rice is gone.
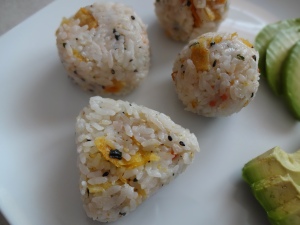
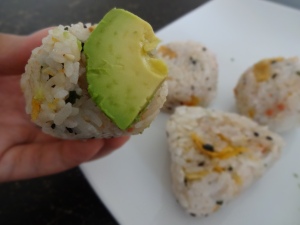
8) Decorate or wrap onigiri with nori, if desired. Serve with slices of avocado.
Bacon Onigiri
ingredients:
• 1 rice cooker cup sushi rice ( 1 rice cooker cup = 180 ml)
• 1½ cups water
• 3 bacon strips, thick cut
• 1 tbsp furikake
• ½ tsp garlic-pepper seasoning (McCormick Salt Free)
• ½ cup water
• ½ tsp kosher salt
• nori for wrappping/decorating (optional)
• slices of avocado
instructions:
1) Put rice in a fine mesh strainer and rinse under not-too-cold running water. Gently swish the rice around with your hand. Rinse rice until water runs clear, about 2 minutes. Drain rice very well by shaking the strainer.
2) Transfer rice to a rice cooker and add 1½ cups water. Turn the setting to "Cook". Once the rice cooker switches to "Warm" setting, set the timer for 15 minutes. Meanwhile, cook the bacon.
3) In a dry pan over medium-low heat, add bacon and cook for 4 minutes per side. Transfer cooked bacon to a paper towel-lined plate to drain off excess grease.
4) In the same pan over low heat, add furikake and garlic-pepper to the bacon drippings. Stir around for 1 minute, then off the heat and set aside.
5) In a bowl, add salt and ½ cup water. Microwave for 20 seconds. Stir the mixture until salt is dissolved; set aside. This is for wetting your hands before shaping the onigiri to prevent rice from sticking to your hands.
6) Chop the bacon. When the 15-minute timer is up, turn the rice cooker off. Using a spoon, scoop as much of the seasonings out of the drippings as you can and add it to the rice, leaving the drippings in the pan. Discard drippings.
7) Mix the seasonings in with the rice using a rice paddle. Add bacon and fold it into the rice.
8) Scoop some rice into a ¼ measuring cup, pack it in. Dip your clean hands in the salt-water mixture, turn the measuring cup upside down and catch the rice with one hand. Firmly shape the rice into a ball or any shape you like. Repeat procedure until rice is gone.
9) Decorate or wrap onigiri with nori, if desired. Serve with slices of avocado.


 |
| Bacon Onigiri |