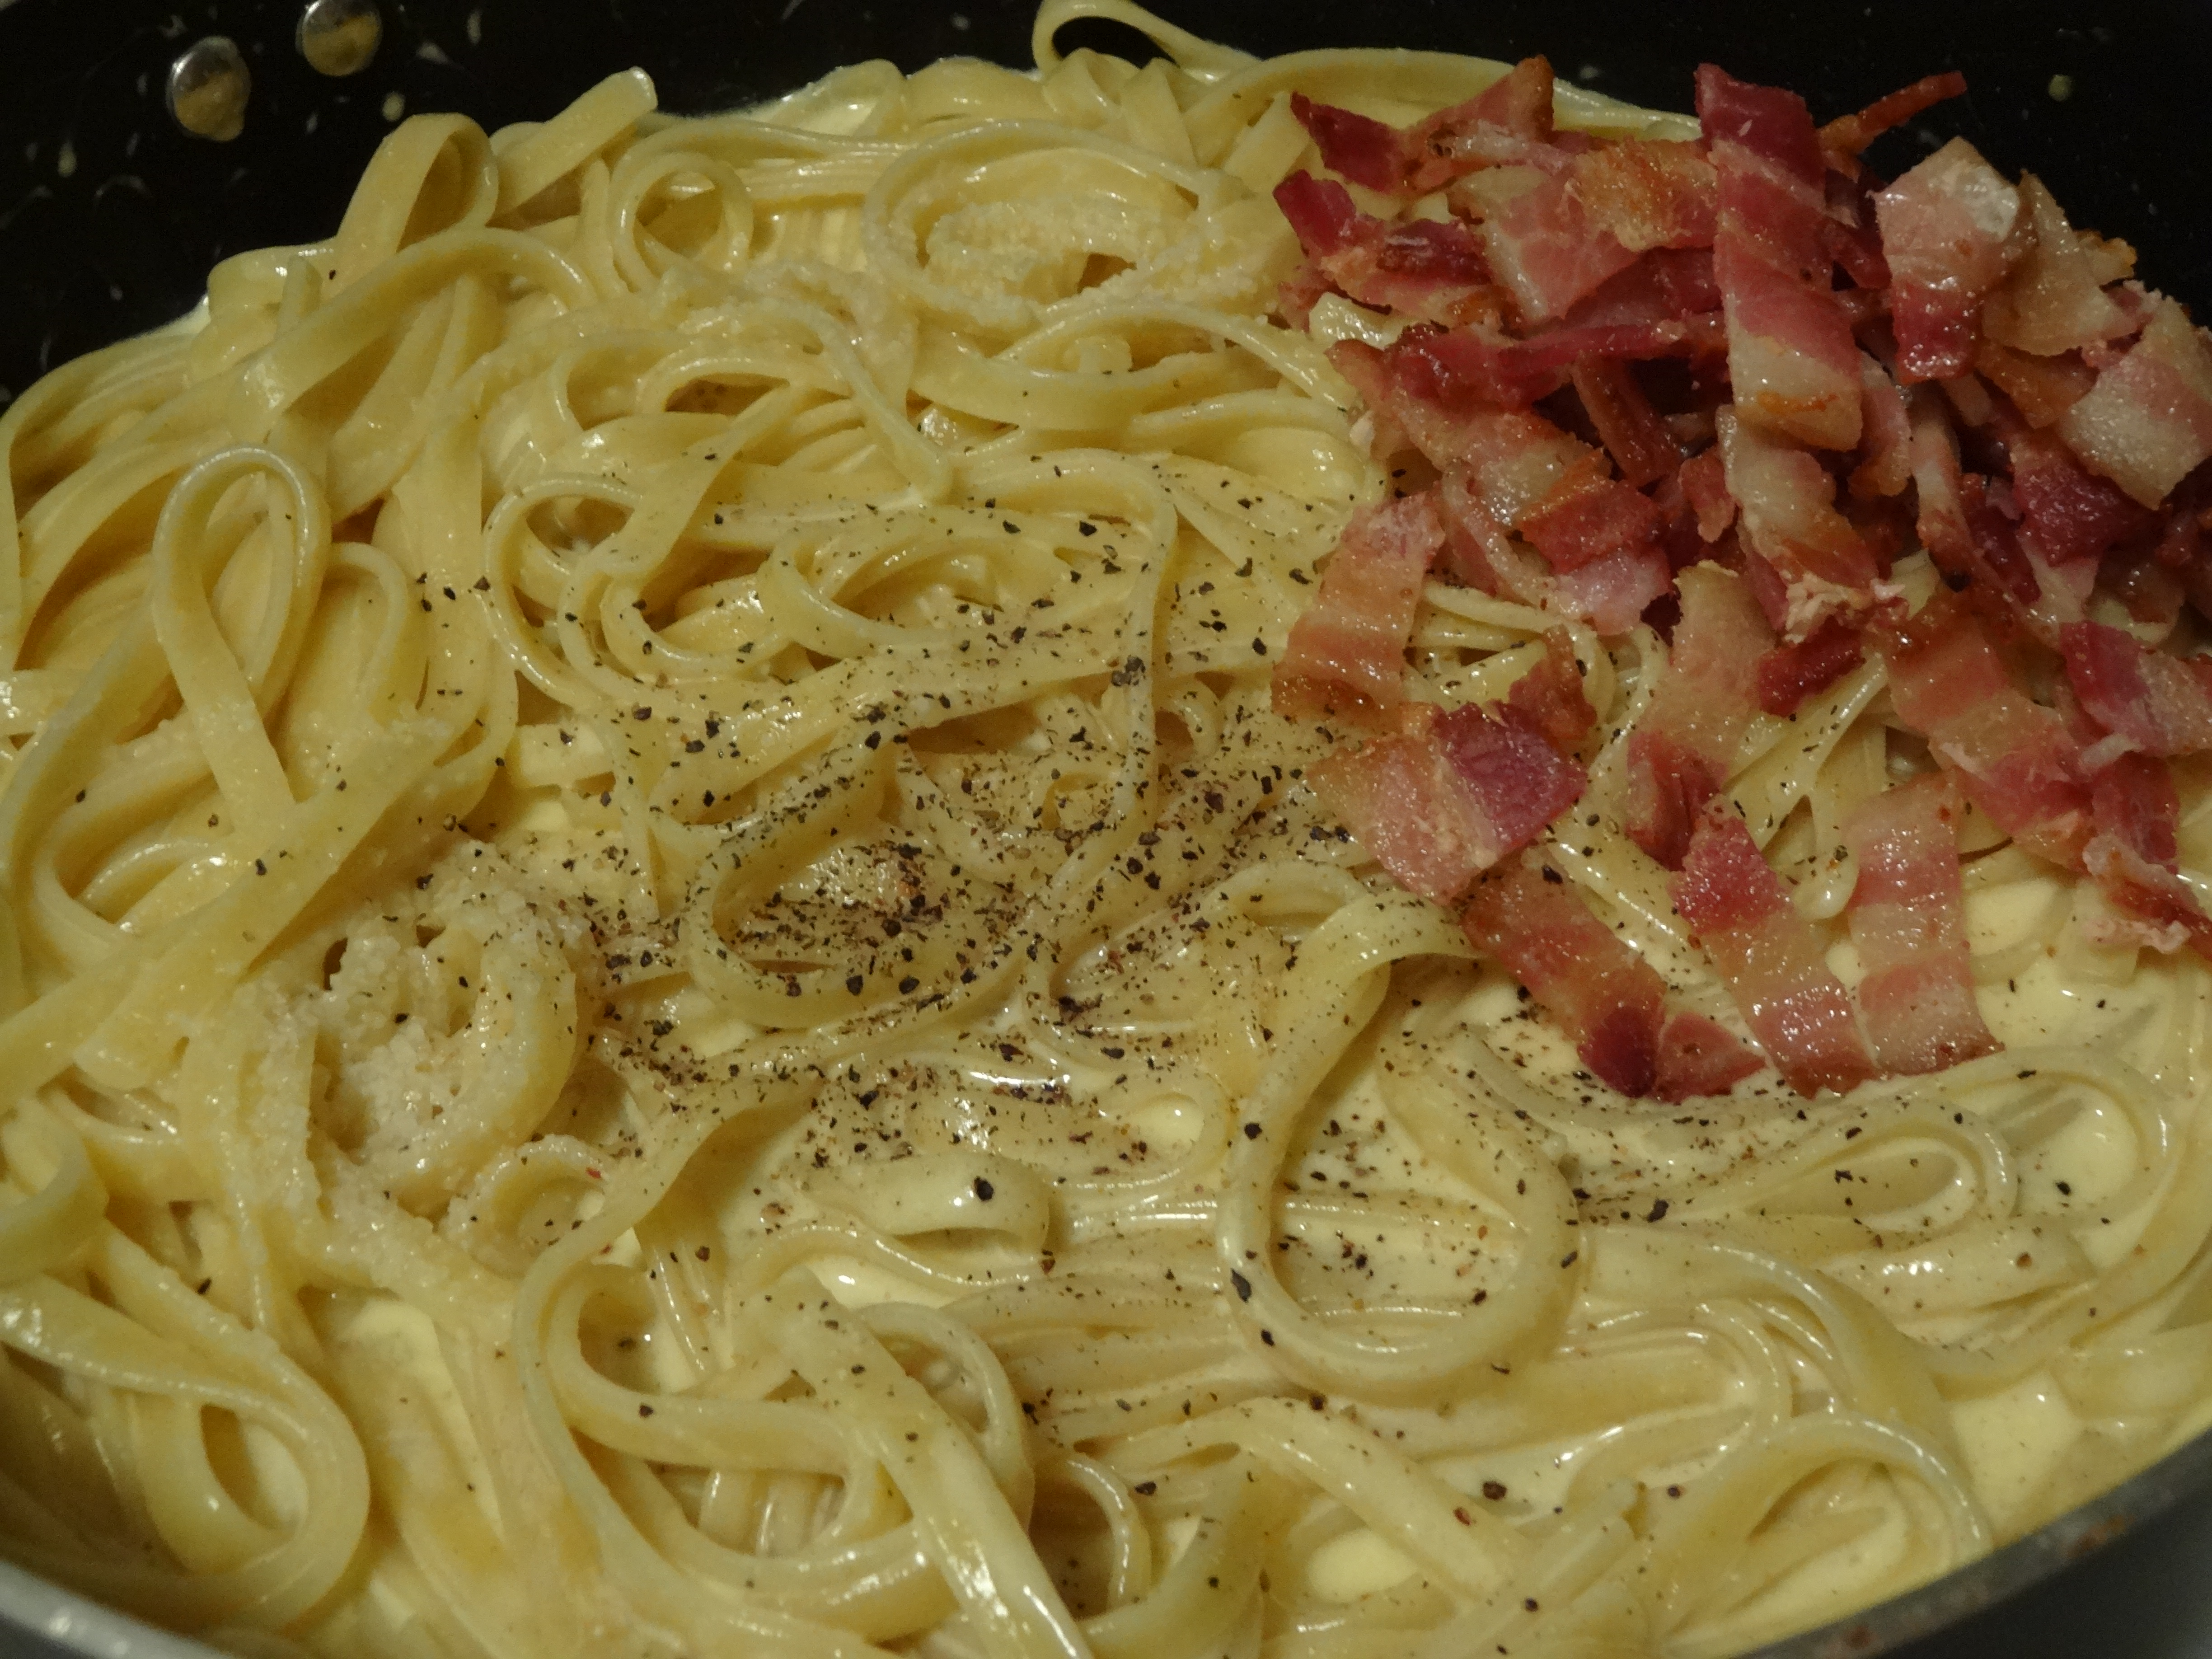
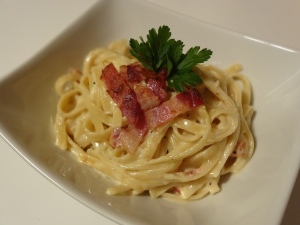
Fettuccine Alfredo with Bacon
For the Pasta
ingredients:
• ½ lb fettuccine pasta
• 1 tbsp kosher salt
• water
• ½ lb fettuccine pasta
• 1 tbsp kosher salt
• water
instructions:
1) Bring a pot of water to a boil over medium-high heat. Add salt and pasta, give it a stir. Cook to al dente according to package directions. Before draining pasta, save ¼ cup of pasta water; set aside.
1) Bring a pot of water to a boil over medium-high heat. Add salt and pasta, give it a stir. Cook to al dente according to package directions. Before draining pasta, save ¼ cup of pasta water; set aside.
For the Bacon and Sauce
ingredients:
• 4 bacon strips, preferably thick cut
• 2 tbsp unsalted butter
• ½ cup heavy cream
• ¼ cup sour cream
• 1 egg yolk, beaten
• 1 cup Parmigiano-Reggiano, freshly grated + more for serving
• ½ tsp kosher salt
• ¼ tsp freshly ground black pepper
• chopped parsley or parsley leaves for garnish
instructions:
1) While pasta is cooking, fry bacon in a dry saute pan over medium-low heat for 4 minutes each side. Transfer cooked bacon to a paper towel-lined plate to drain. When cool enough to handle, chop bacon and set aside.
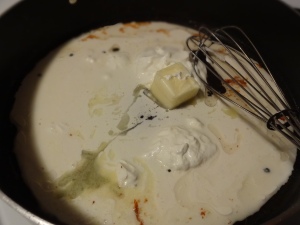
2) Add butter, heavy cream, and sour cream in the same saute pan with the bacon drippings over medium heat. Whisk around until everything is melted, about 2 minutes. Turn the heat off.
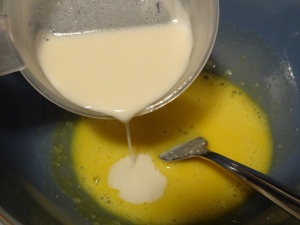
3) Temper the egg yolk by gradually adding a little bit of the alfredo sauce to the yolk while whisking constantly.
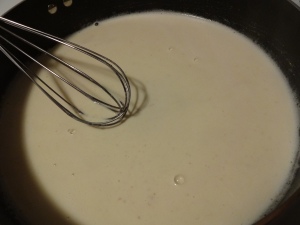
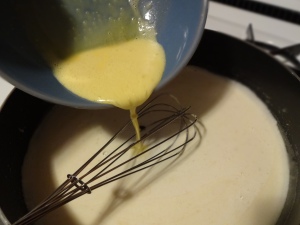
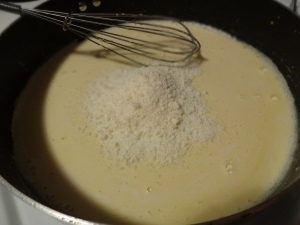
4) Add the tempered egg yolk to the alfredo sauce. Turn the heat on to low and whisk around. Add half of the Parmigiano-Reggiano and stir around until cheese is melted. Add pasta, salt, pepper, and half of the chopped bacon to the sauce; toss to coat.
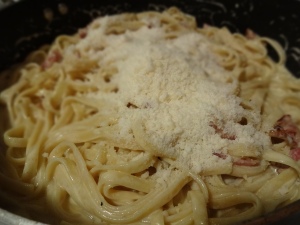
5) Add the rest of Parmigiano-Reggiano cheese and the reserved pasta water, toss to coat. Turn off the heat.
6) Top with the rest of the chopped bacon. Garnish with parsley and more cheese, if desired.
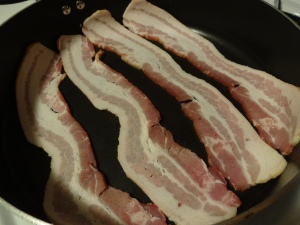

1) While pasta is cooking, fry bacon in a dry saute pan over medium-low heat for 4 minutes each side. Transfer cooked bacon to a paper towel-lined plate to drain. When cool enough to handle, chop bacon and set aside.
2) Add butter, heavy cream, and sour cream in the same saute pan with the bacon drippings over medium heat. Whisk around until everything is melted, about 2 minutes. Turn the heat off.
3) Temper the egg yolk by gradually adding a little bit of the alfredo sauce to the yolk while whisking constantly.
4) Add the tempered egg yolk to the alfredo sauce. Turn the heat on to low and whisk around. Add half of the Parmigiano-Reggiano and stir around until cheese is melted. Add pasta, salt, pepper, and half of the chopped bacon to the sauce; toss to coat.
5) Add the rest of Parmigiano-Reggiano cheese and the reserved pasta water, toss to coat. Turn off the heat.
6) Top with the rest of the chopped bacon. Garnish with parsley and more cheese, if desired.